My Pet Turtle - Part 3
Hello Internet Users,
In the last blog post about my turtle, I hinted that I needed to increase the size of Sandy the Slider's habitat and, after moving to a new apartment, I took the opportunity to make some much needed improvements. There were definite restrictions to what I could accomplish due to time and money restrictions, but I think I met the challenge.
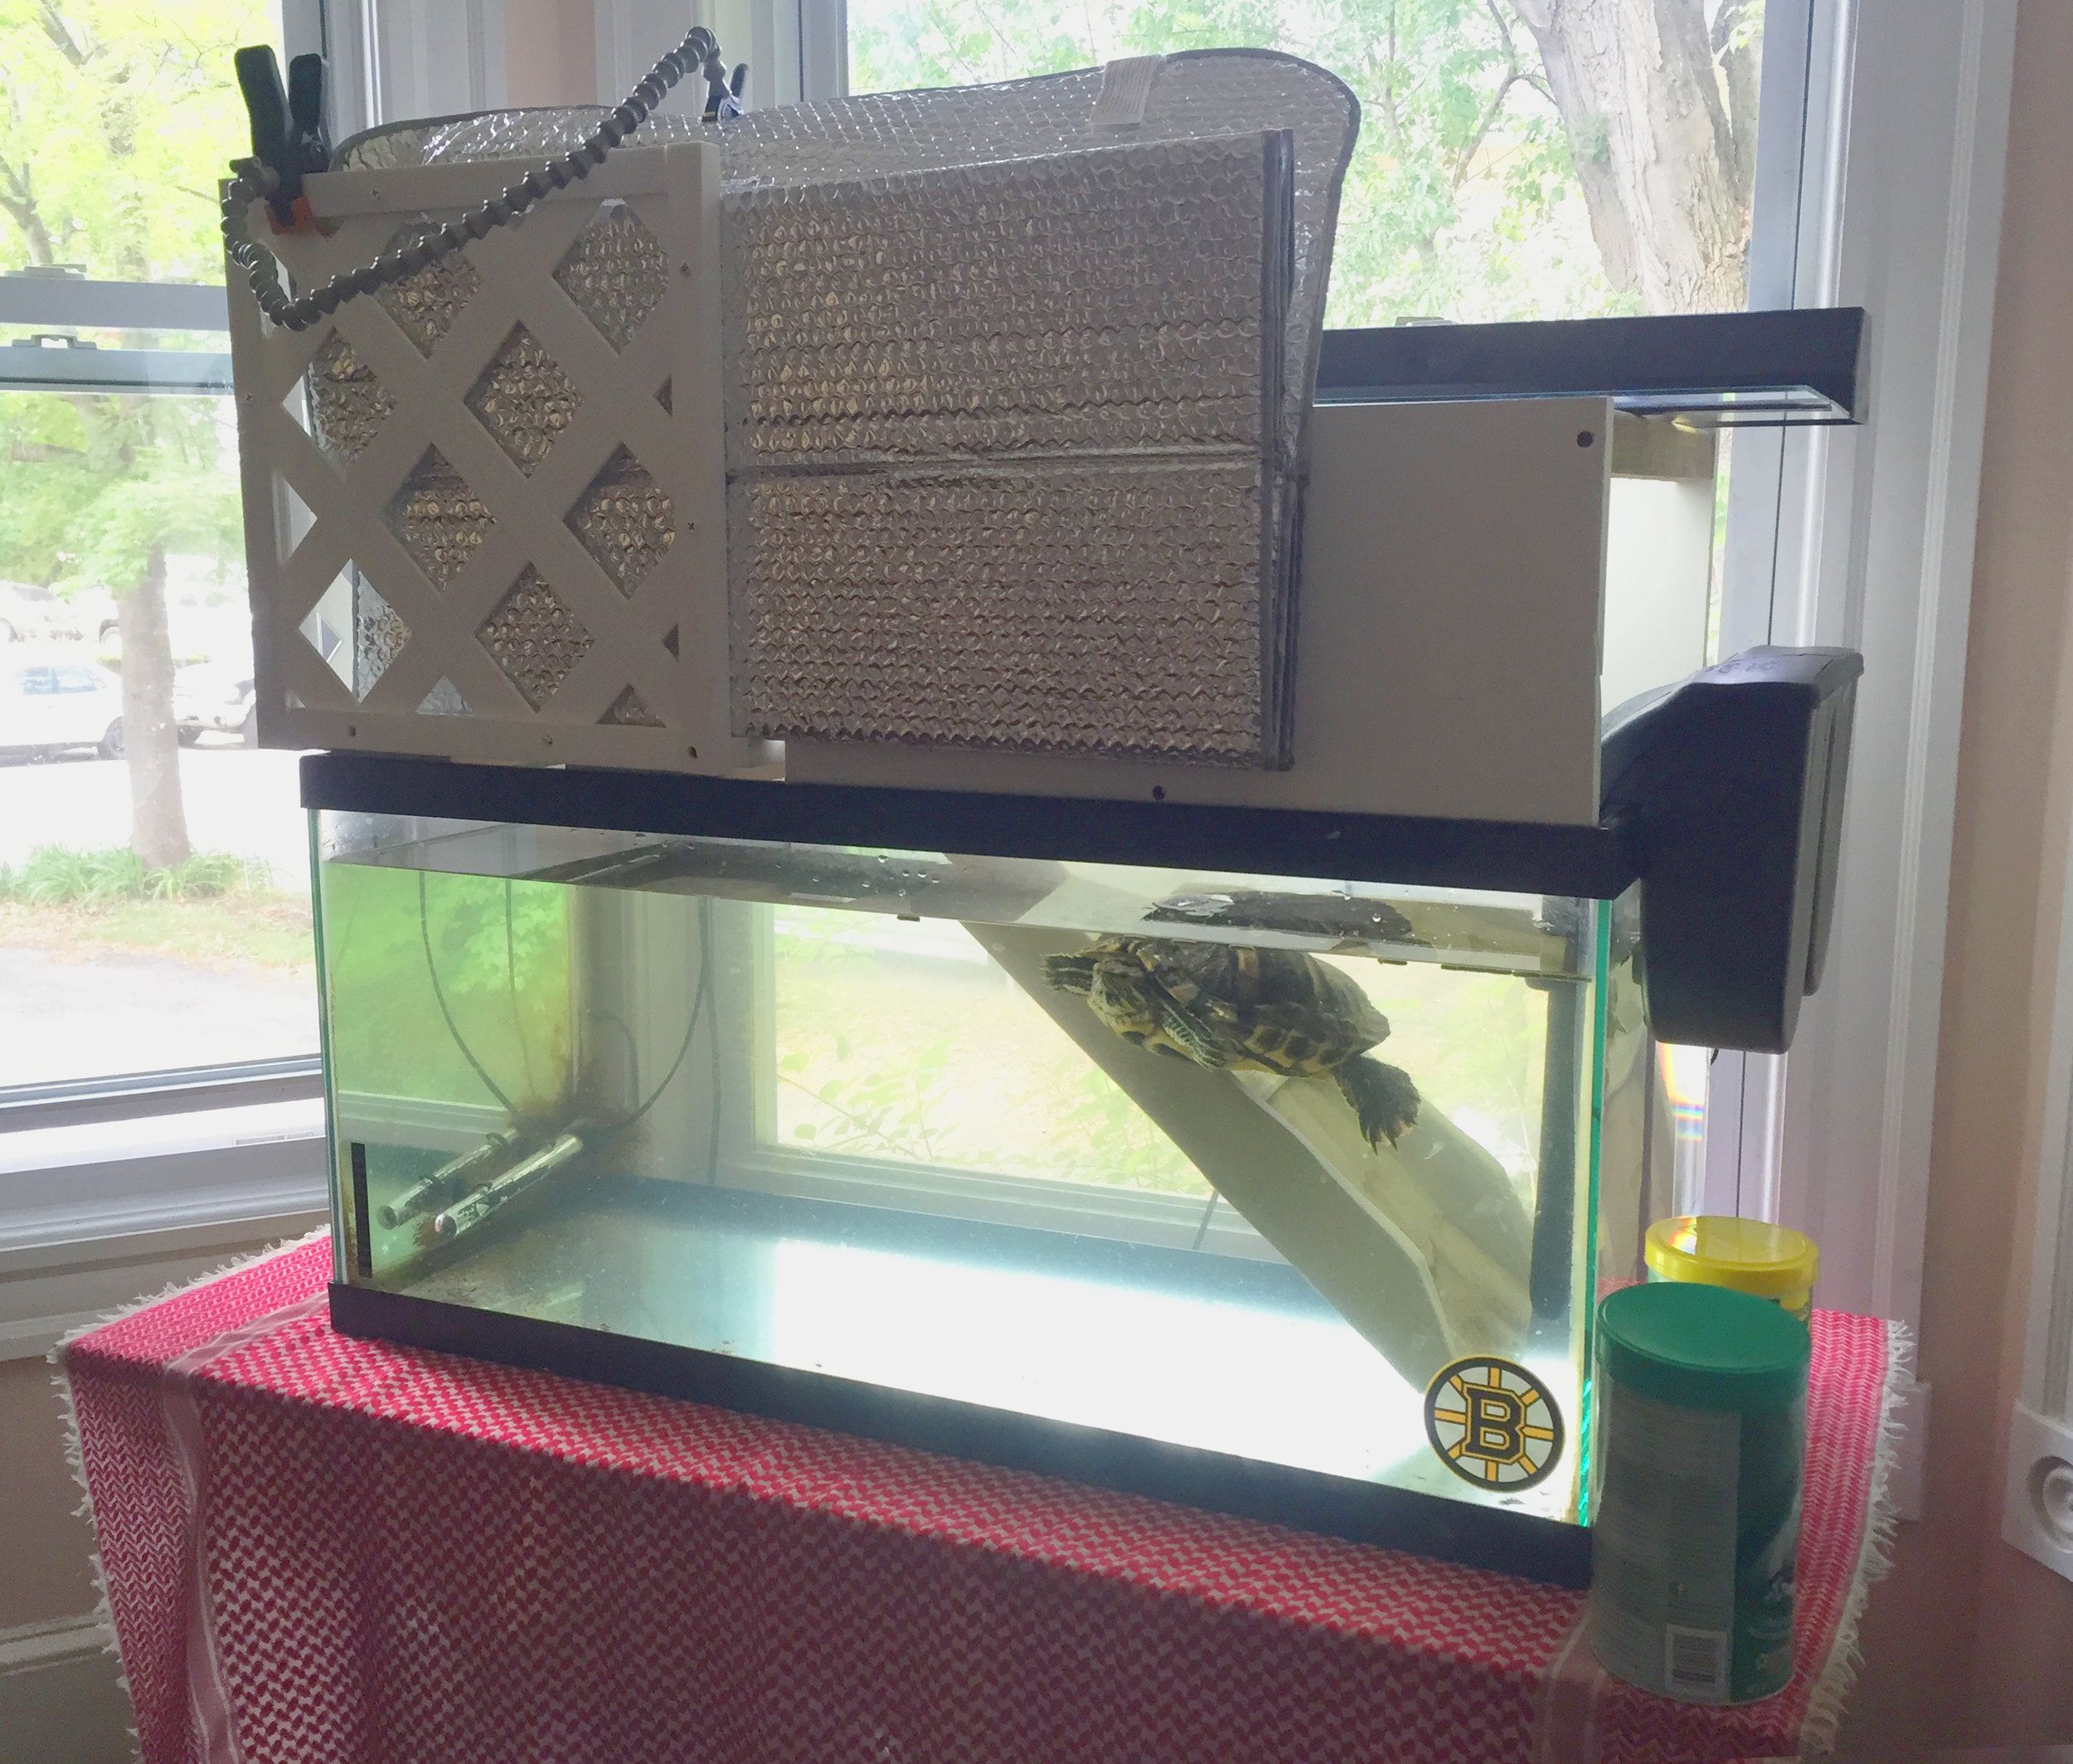
The new configuration for Sandy the Turtle
The answer was to return to a similar setup I had a few years ago. At that time, I had a product I mentioned in the previous blog: A Turtle Topper. Unfortunately, Sandy became too big for the platform and forced me to buy a bigger aquarium and to place a DIY basking platform in the tank. The problem, of course, is that the water level had to be kept low enough to accommodate the platform which meant the usable volume of the tank was not optimized. "So buy a bigger Turtle Topper, Evan!" Unfortunately, the Turtle Topper only goes so big. Red-eared Sliders are one of those pets that are considered expendable. They rarely live to be as old and as big as Sandy due to neglect and poor care. That means products for full-size adult turtles don't exist. It was time for a DIY Turtle Topper!
My project had several criteria. Firstly, I had a budget to stay within. Secondly, turtles are wily escape artists, so the platform had to be strong and secure. Lastly, the platform had to meet the biological needs of the turtle and be a warm place bathed in full-spectrum light.
For materials, I knew I needed something that was strong and waterproof. I could use wood easily, but it would slowly rot away and treating the wood might slowly poison the turtle. I opted for a few PVC planks from Home Depot. Normally, the plastic planks would be used for exterior projects like sheds or window sills that might be exposed to moisture. They are pricey, but I bought the least expensive variety. To enclose the platform, I needed something that would be strong, match the aesthetic of the PVC, and allow light through. I decided to pick up a large sheet of white plastic lattice. Near the lattice at the hardware store were plastic border pieces with precut channels. The last piece of the puzzle was finding something to use as a ramp so Sandy could climb out of the water. After wandering around the store for a while, I found a perfectly shaped plastic channel called a splash block that is traditionally used to keep water that drains from down spouts away from your foundation. It also had a nice stone-like mold to it to give Sandy some traction. Very durable too. I bought it on the spot to hold the whole thing together. I also bought rust-proof (Aluminum) screws.

Sandy the Turtle basks on her new platform
Planning was easy, but assembly was a tad difficult. The PVC planks are incredibly hard to cut cleanly. I used a rotating saw, which left a relatively clean edge, but the stuff throws half melted plastic shavings all over the place that are hard to clean up and stick to everything. Good thing I was outdoors. Anyway, once the planks were cut, I created walls around the platform using the lattice and border pieces. I initially tried to caulk them together, but then I was afraid that the turtle might accidentally ingest some of it, so I used screws throughout. The screws aren't as attractive, but do the job really well. Then I drilled a few holes at the end of the splash block and matching holes on the open side of the platform. Using small zip ties, I secured the ramp to the platform, but not too tightly: It is important that the ramp be able to hinge a little so that the turtle doesn't accidentally lodge herself under it and drown. Gotta think of all possibilities!
Lastly, I used the remaining lengths of PVC planks to create a separate enclosure. The platform only accounts for a third of the distance across the tank and with the water level all the way at the top, Sandy could easily throw herself out without a barrier of sorts stretching the remaining thirds. It also served to hold up the florescent fixture that lights the aquarium with full spectrum light.

Another view of the basking platform
With everything assembled, it was time to put it in place. Everything fit very well on top of the tank. I bought a rubber bathmat to give the platform and the top of the ramp a little extra traction and waterproofing. In my parents' basement, I also found a silver sun reflector that you would normally place in your car's windshield on sunny days to keep the interior cool. With the tank in a very sunny window in my apartment, the sun reflector not only concentrates the sunlight onto the platform, but also provides the turtle some privacy. Turtles are very flighty when outside the relative safety of the water. Simply walking by the tank might needlessly scare Sandy off the platform and so the added cover works well.
Lastly, changing the configuration of the aquarium forced me to buy a new filter. As detailed in my previous blog, simple and powerful filters are the best. This time I chose a fish filter made by Tetra. It hangs on the side of the tank, it's easy to clean, and the carbon inserts last about 20 days and are inexpensive. The only drawback of the hanging filter is that the water level needs to be managed. In the warmer months, as the water evaporates very quickly. I have to make sure the minimum water level is met before I turn on the filter for the day.

Sandy is giving me the stink eye
All in all, both Sandy and I have been happy with the new setup. Lots of sunlight for her, easy to clean for me, and it doesn't look half bad which is important as the tank is in a more public area of the apartment. She shouldn't grow too much bigger if at all, so it just might be the last aquarium setup I need for her barring maintenance. Although, I did say the same thing about the last platform . . .